GLPI Initial Setup
When you log into GLPI for the first time you will see the following bar along the top of the page:

To remove the “For security reasons, please remove file: install/install.php” warning go to the terminal on the server and go to the /var/www/html/glpi/install folder:
cd /var/www/html/glpi/installThen run the following command:
mv sudo mv install.php install.php.oldWhen you refresh the web page you will see that the warning about the install.php has now gone and there is just the warning about changing the user passwords:

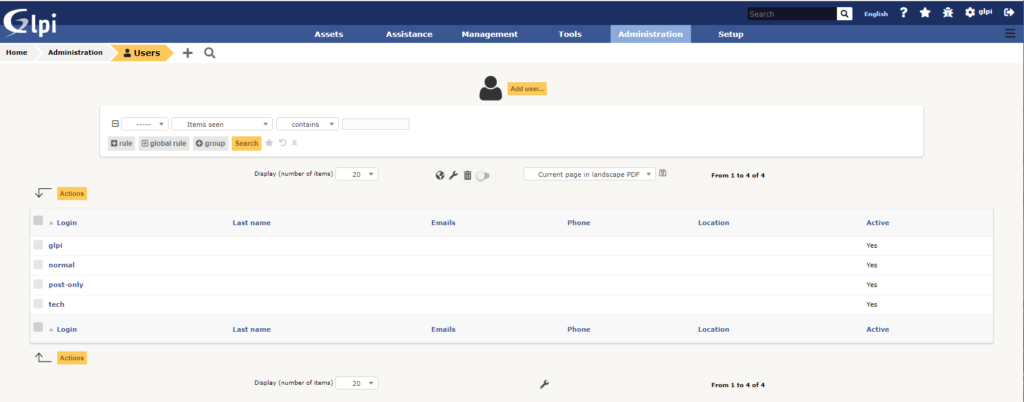
To change the user passwords log into the web interface of glpi with the glpi user and select Administration, Users:

This will open the Users page:
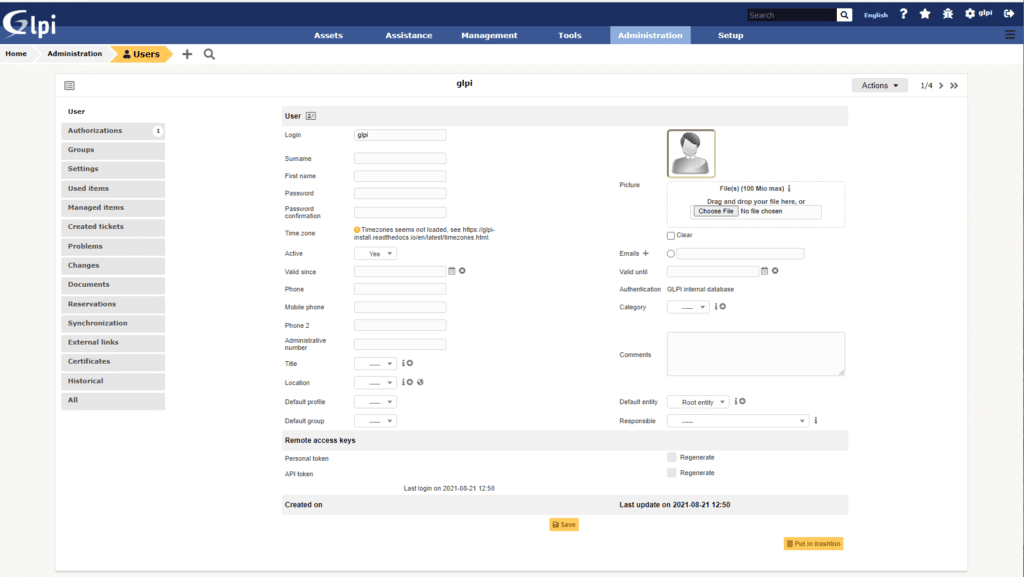
Type in the new password twice in the Password and Password confirmation fields and click on save:
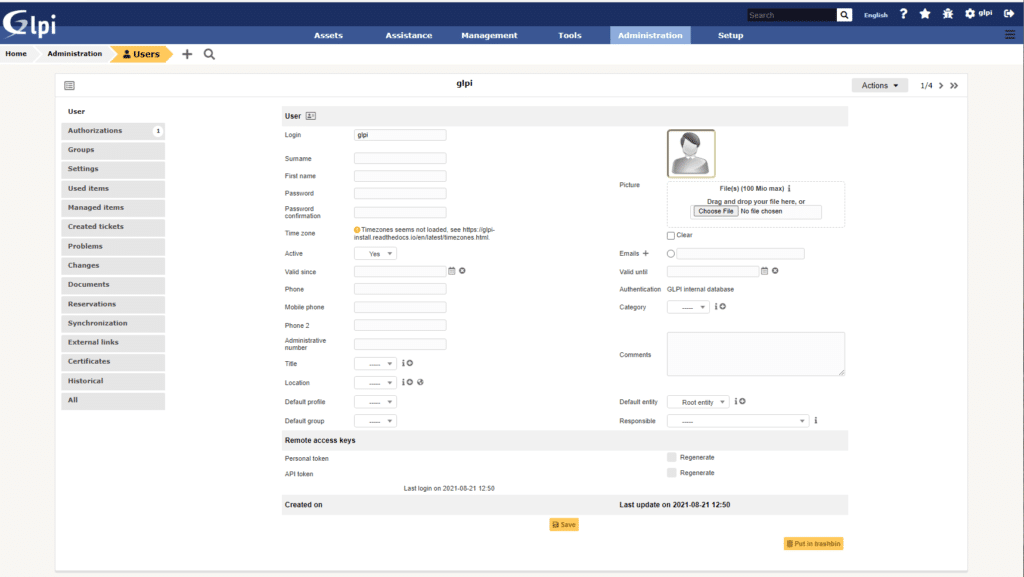
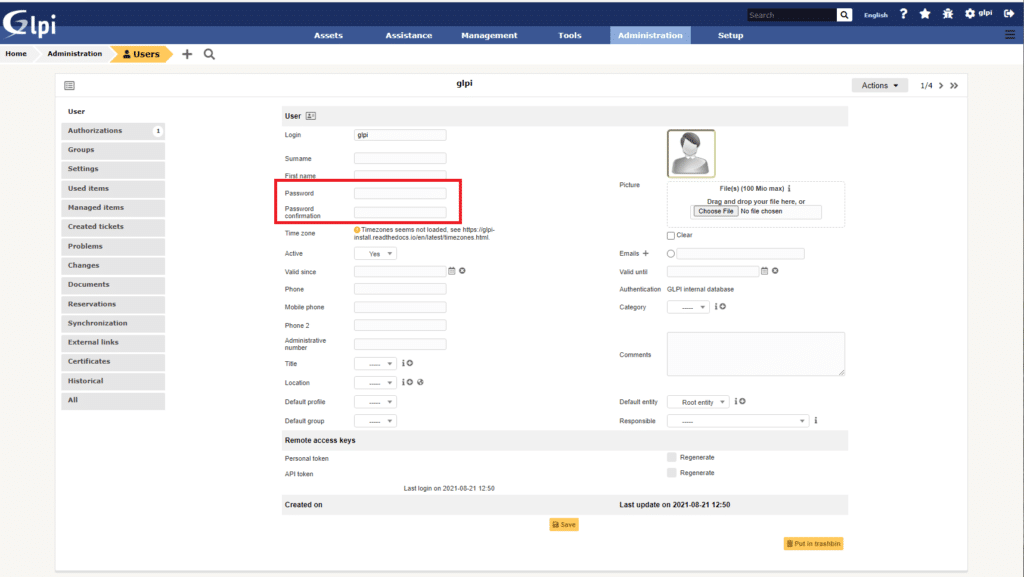
Do the same for the other 3 users and then click on Home and you will see that the yellow bar has been removed:
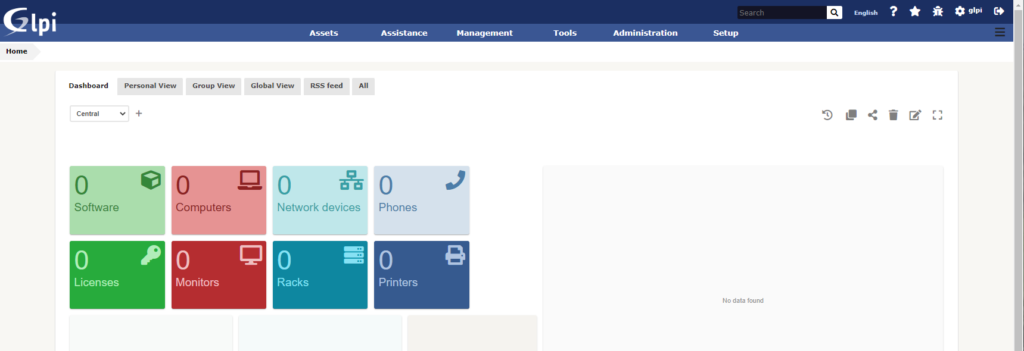
GLPI is now ready to use and start to configure to your needs.

Pingback: Installing GLPI on Ubuntu 20.04 - GLPI How Too