Before starting this how too you will need to have already made an Ubuntu 22.04 Proxmox LXC Template.
Once you have a template created go to the Proxmox GUI and select the template in the left hand menu:
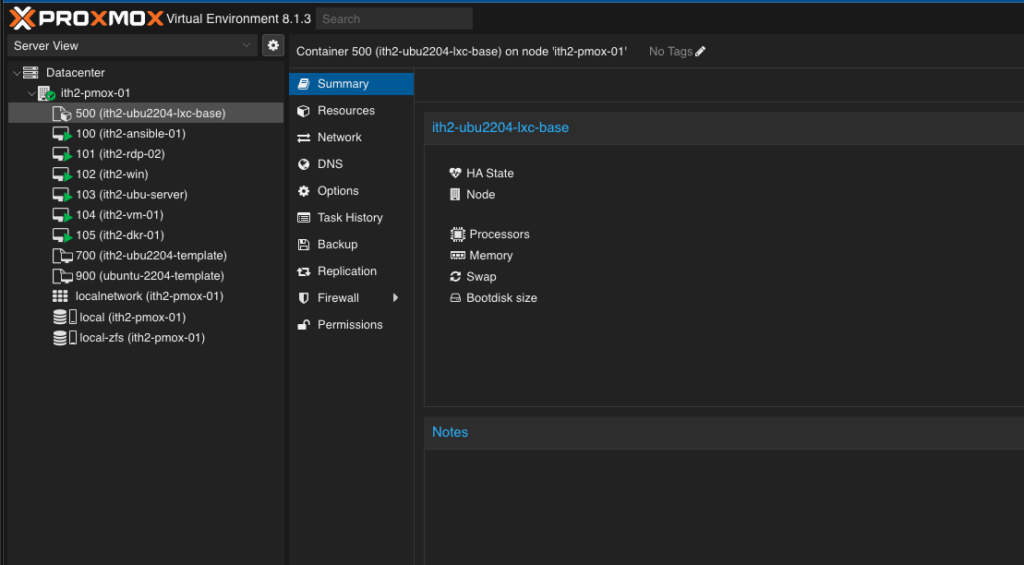
Right click on the template name:
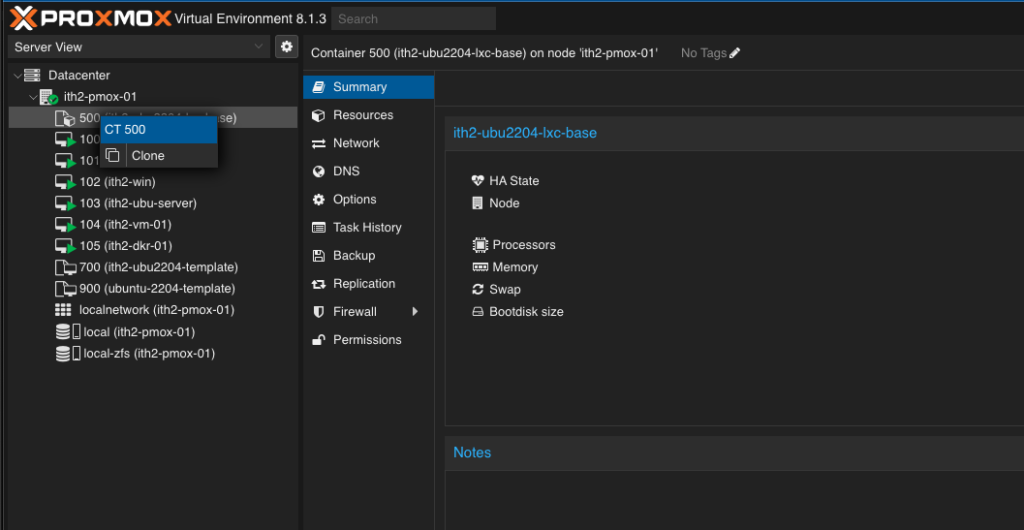
Click on Clone to open the Clone wizard:
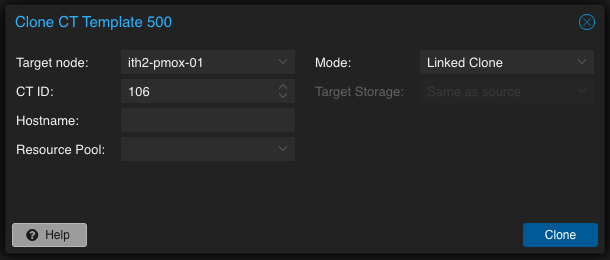
If you want to keep the default CT ID then leave it as it is. If not change it to the CY ID that you want to use:
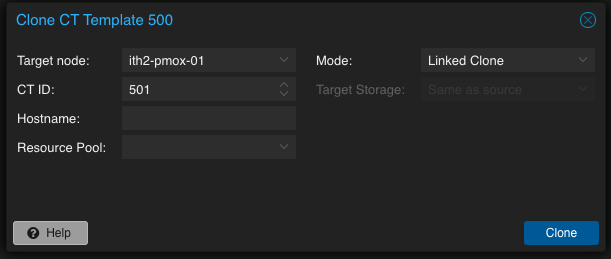
Helpfully if you choose an already used CT ID then the wizard highlights the field in red to show there is an issue so be on the lookout for that! It will also keep the Clone button greyed out to stop you from building the clone:
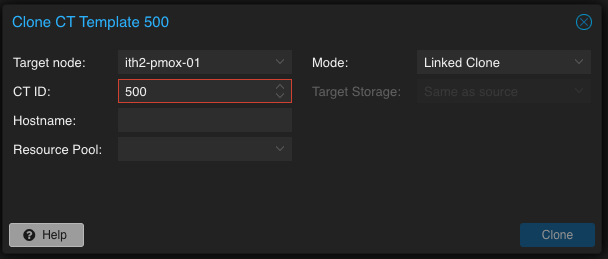
Add a hostname to the Hostname Field:
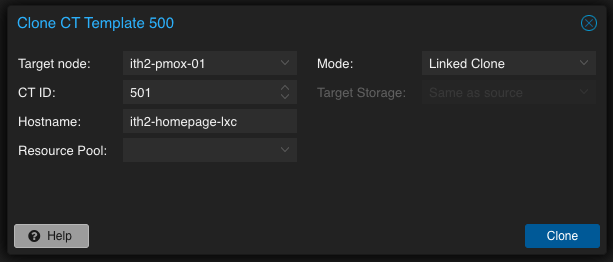
Change the Mode from Linked Clone to Full clone or leave as linked it is up to you! I alway choose Full clone as my default setting:
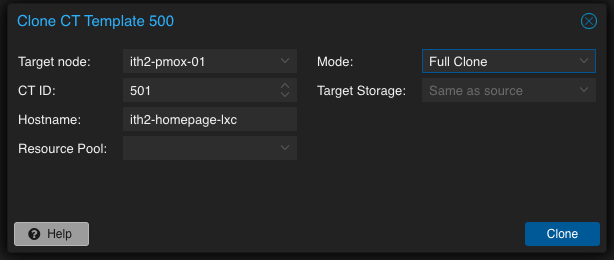
Select the Target storage field and choose the desired storage location (My server only has 1 disk so there is only one choice!):

Click the Clone Button:
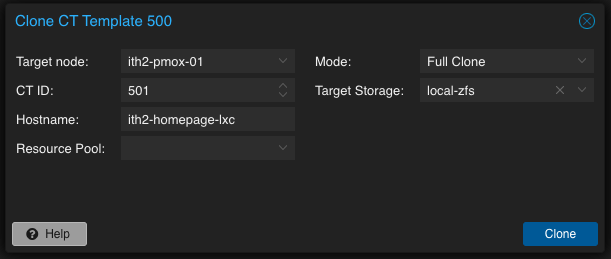
When the clone process is complete the new LXC Container will appear in the left hand menu:
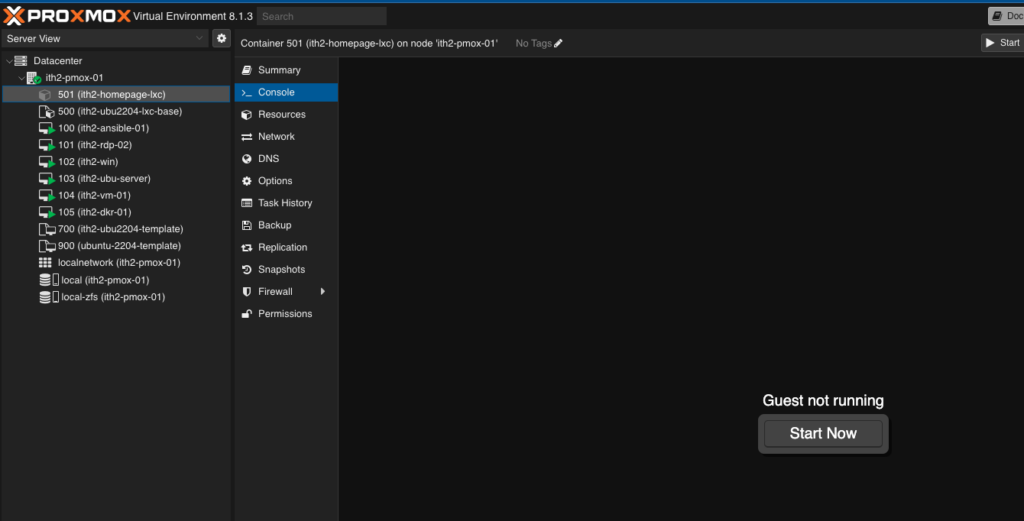
If you want to add a fixed IP for the new container you can add it now by going to the Network option in the middle menu and selecting the network card in the right menu:

Double click the NIC in the right hand menu to open the Edit: Network Device wizard:
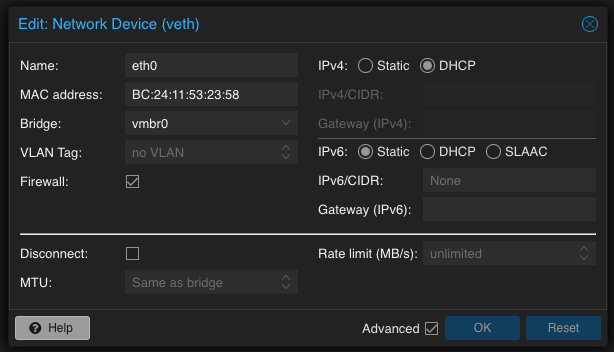
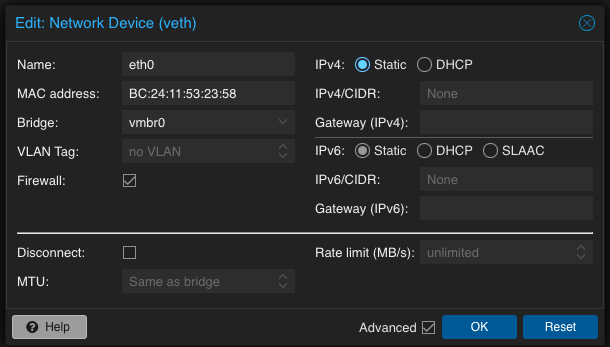
Set the IPv4 to Static:
Add the static IP address in the IPv4/CIDR field:
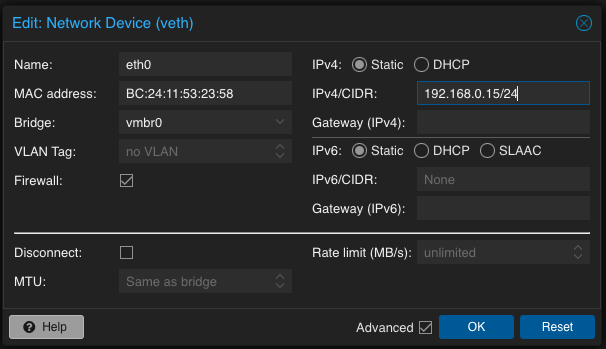
Add the Gateway into the Gateway (IPv4) field and click OK:
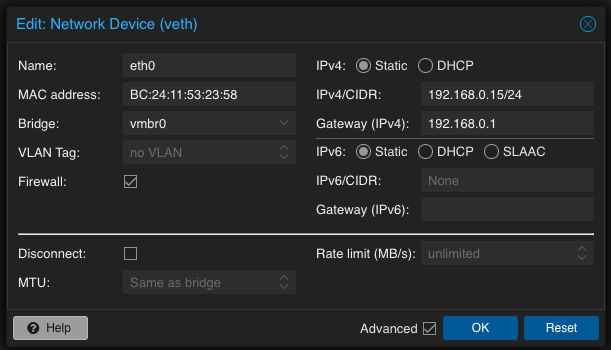
The VM will now have the new IP in its settings:

Click on the Console again and clock on the Start Now button to start the new container:
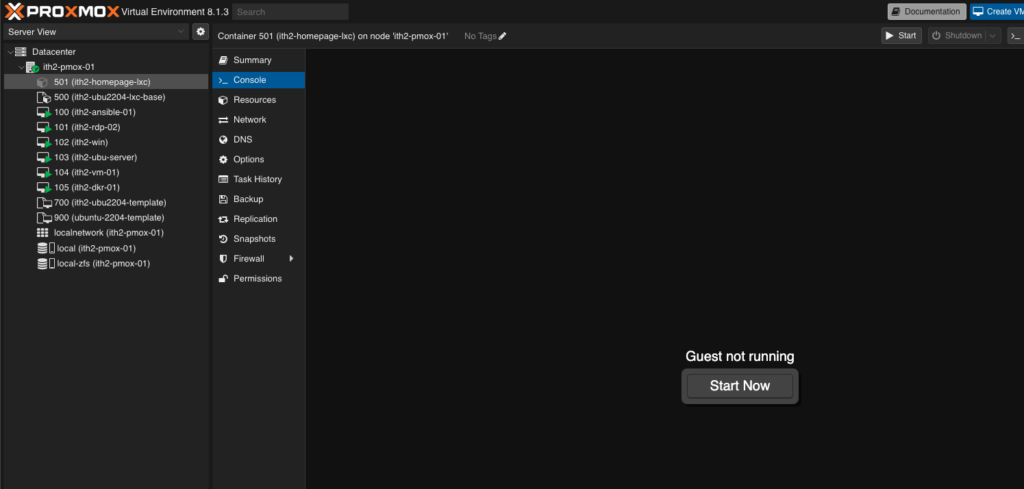
You now have a shinny new Proxmox LXC container to play with:
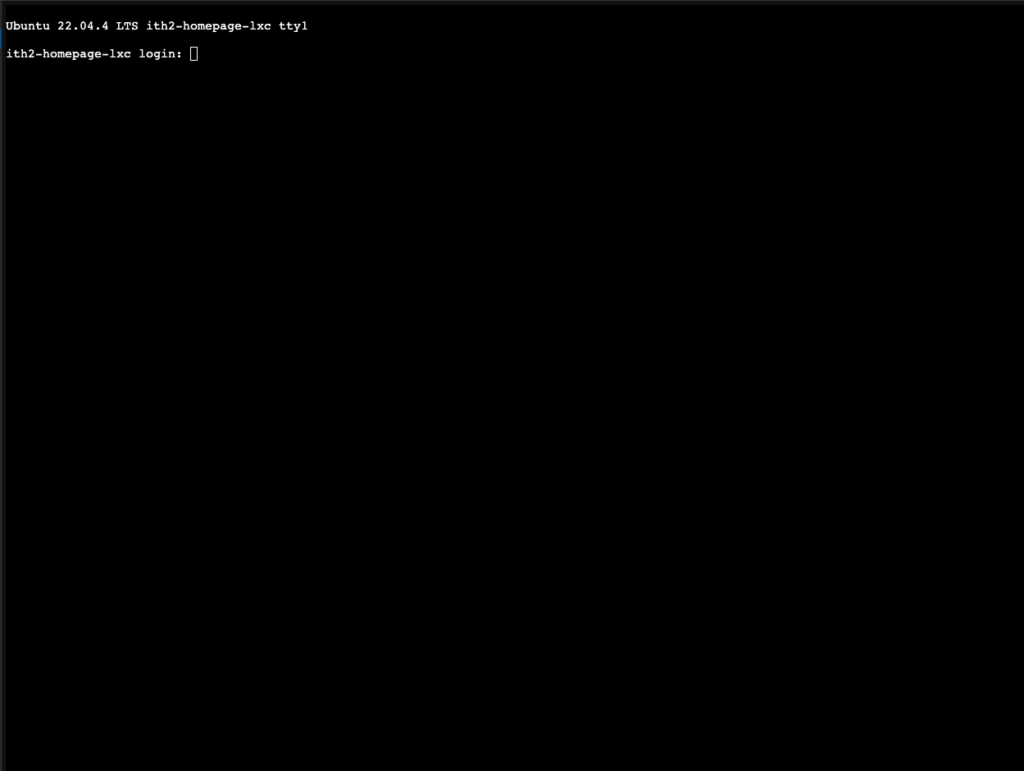
To see what you can run using docker compose on the new LXC Container go to our Docker & Docker Compose Section. Or you can install something on the Container by using it like a normal VM from our Install Something On Linux section.
