
Installing GLPI on Ubuntu 22.04 is a pretty straight forward process and can be done easily in about 10 minutes following the instructions below.
Update and Upgrade Ubuntu
Before installing GLPI we want to make sure that our cleanly installed Ubuntu 22.04 server has all the latest updates installed on it to do this run the following commands:
sudo apt update -y
sudo apt upgrade -y
Install LAMP on Ubuntu 22.04
The LAMP Stack consists of Apache2, PHP and MySQL/MariaDB and can be installed using the following instructions:
Install Apache2 and PHP
To install Apache2 and PHP run the following command:
sudo apt install -y apache2 php8.1 php8.1-curl php8.1-zip php8.1-gd php8.1-intl php8.1-intl php-pear php8.1-imagick php8.1-imap php-memcache php8.1-pspell php8.1-tidy php8.1-xmlrpc php8.1-xsl php8.1-mbstring php8.1-ldap php8.1-ldap php-cas php-apcu libapache2-mod-php8.1 php8.1-mysql php-bz2 wget php8.1-gdOnce the installation finishes check the status of Apache2
sudo systemctl status apache2
If you see active (running) then Apaches is installed and ready to use.
Install MariaDB
Run the following command to install MariaDB using apt:
sudo apt install mariadb-server -yOnce MariaDB is installed check that it is running:
sudo systemctl status mariadb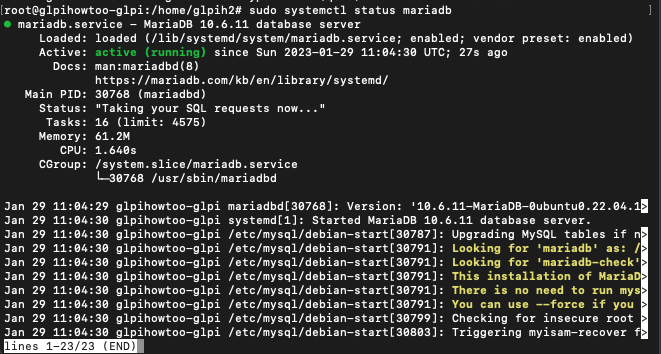
Now that MariaDB is installed and running we can move on to:
Securing MariaDB
To make sure that MariaDB is secure and that it has a root password set (default setting is no password!) run the following:
sudo mariadb-secure-installationWhen the Script asks “Enter current password for root (enter for none):” press enter as there is no password set at the moment.
Answer Y to “Switch to unix_socket authentication [Y/n]”
Answer Y again to “Change the root password? [Y/n]”
Enter the new password and press enter when asked “New password:”
Re-enter the new password and press enter when asked “Re-enter new password:”
Type Y and enter when asked “Remove anonymous users? [Y/n]”
Again type Y and enter when asked “Disallow root login remotely? [Y/n]”
Finally type Y and enter when asked “Remove test database and access to it? [Y/n]”
MySQL is now secured and your root mysql password is now set.
Create GLPI database and User
Access MariaDB by running the following command:
sudo mysql -u root -pCreate the GLPI database by running the following command. The command will create a database called glpi but you can change it to whatever you like:
CREATE DATABASE glpi;Create the user and give it access to the glpi database by running the following commands changing DBNAME, GLPIUSER and YOUR_PASSWORD to the names and pasword that you want to use:
GRANT ALL PRIVILEGES ON DBNAME.* TO 'GLPIUSER'@'localhost' IDENTIFIED BY 'YOUR_PASSWORD';
FLUSH PRIVILEGES;
EXIT;
We are now ready to download GLPI
Downloading GLPI
Download the latest stable release of GLPI. It follows a semantic versioning scheme, on 3 digits, where the first one is the major release, the second the minor and the third the fix release.
Check for the latest stable release on the Downloads page. As of this writing, this is 10.0.10.
Set the version number to be installed by running:
export VER="10.0.10"Download GLPI 10.0.10 by running:
wget https://github.com/glpi-project/glpi/releases/download/$VER/glpi-$VER.tgzOnce the installation file has been downloaded, extract the downloaded archive by running:
tar xvf glpi-$VER.tgzMove the extracted glpi director /var/www/html:
sudo mv glpi /var/www/html/Give apache user ownership of the /var/www/html/glpi directory and all of its contents:
sudo chown -R www-data:www-data /var/www/html/glpi
Finish the Installation on GUI
The rest of the installation needs to be done from the web browser. If you are on the same machine as the glpi installation got to http://127.0.0.1/glpi/install/install.php if you are installing glpi on a remote machine go to http://serverip/glpi/install/install.php
This will bring up the following page:
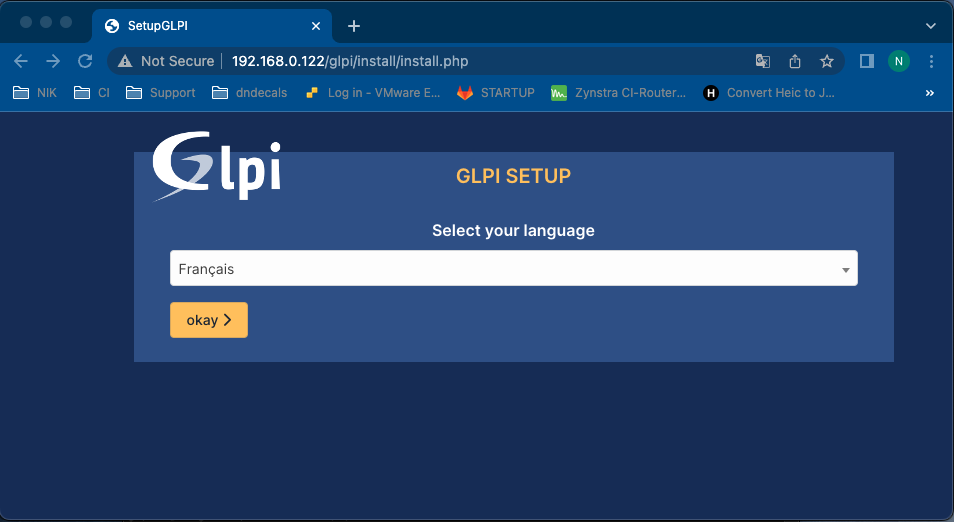
Select your installation Language and click OK
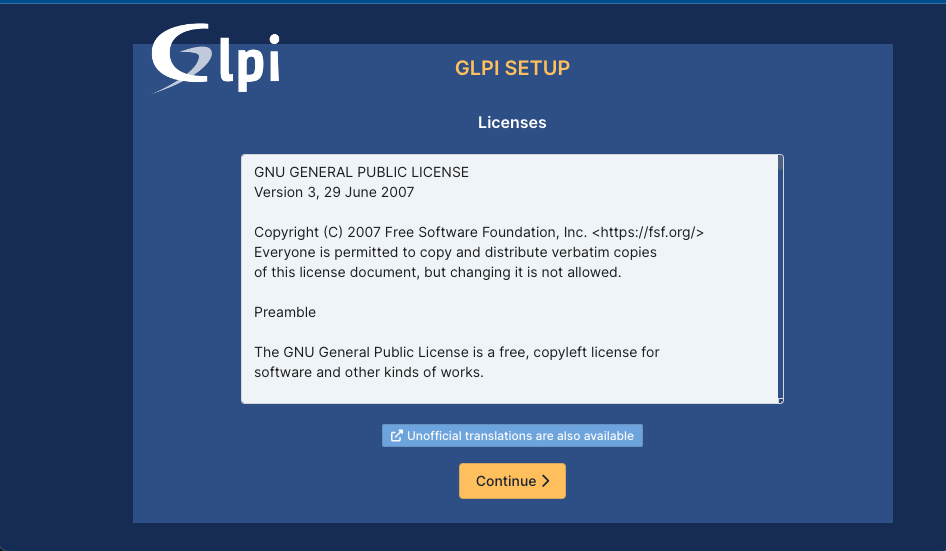
Click Continue
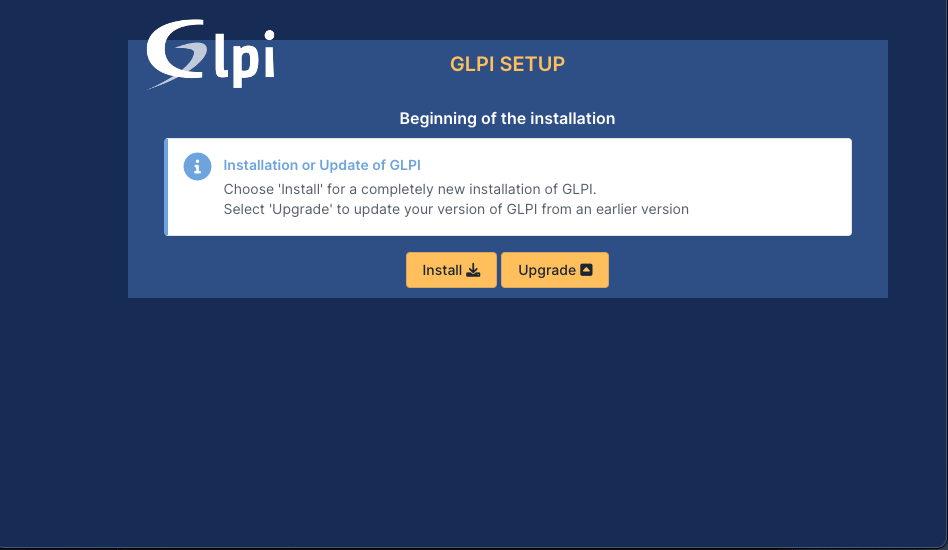
Click Install
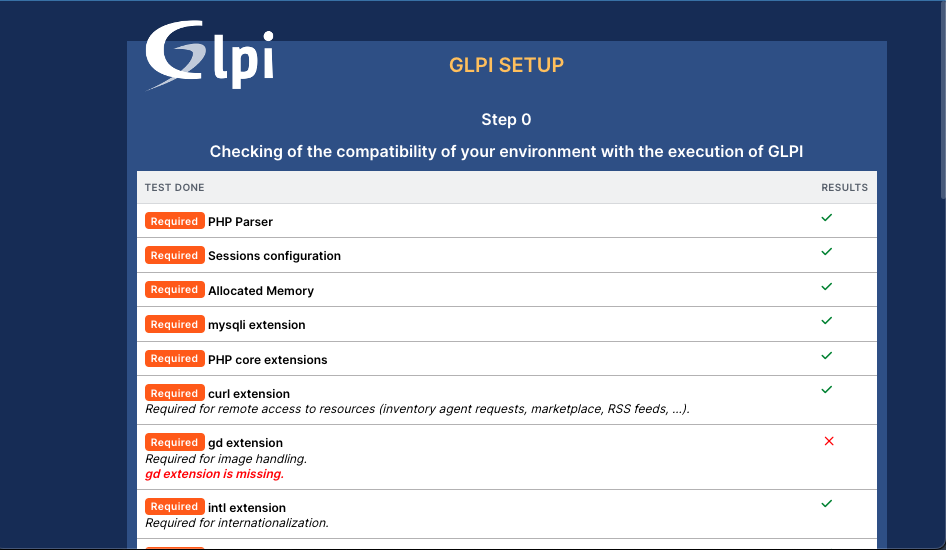
My Installation failed due to the gd extension being missing. I have added the install into the command for installing Apache2 and Php so this shouldn’t happen if you follow the documentation. if you need to install it afterwards you can run:
apt install php-gd
sudo service apache2 restart
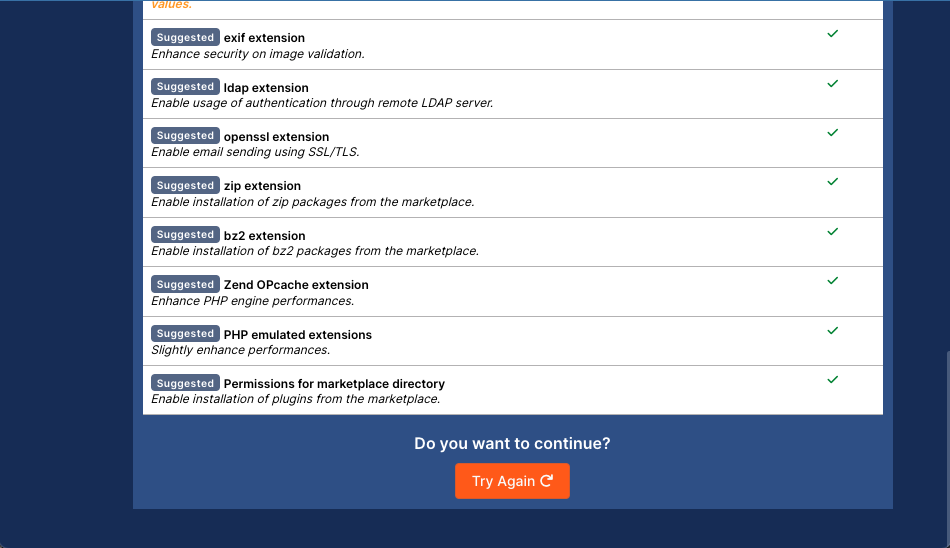
After installing gd and restarting Apache2 scroll to the bottom of the page and click the Try Again button:
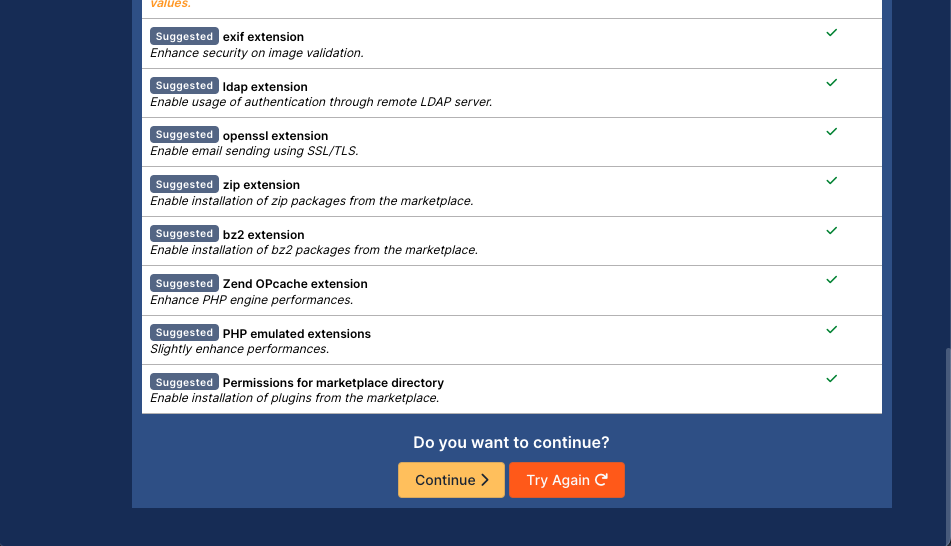
There will now be a Continue button. Click on it to go to the next Installation Step:
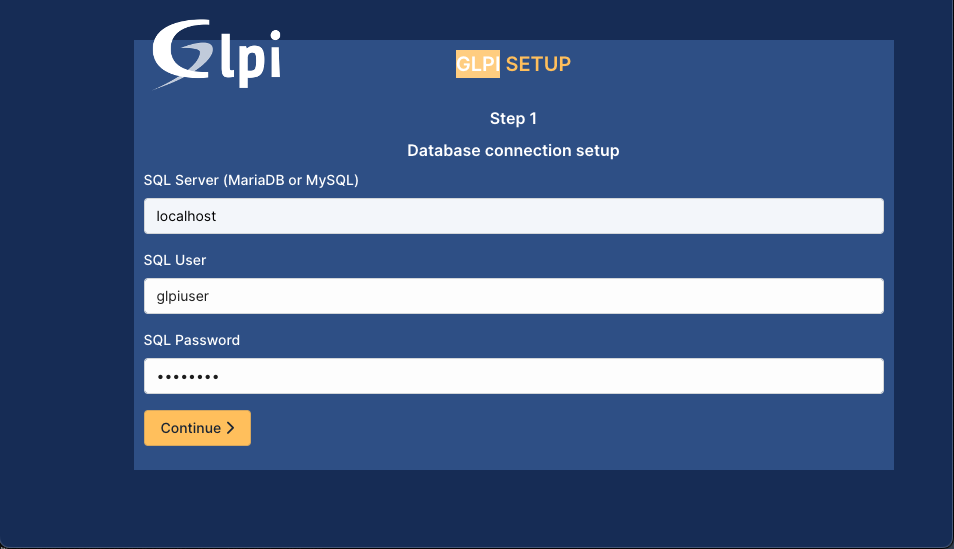
Put in your database details created when we setup MariaDB and click on Continue:
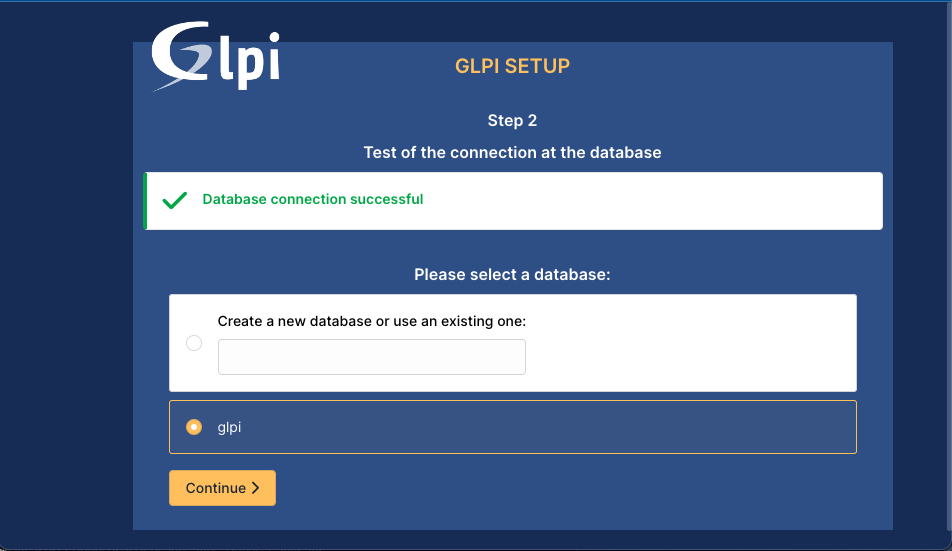
Select the glpi database and click Continue:
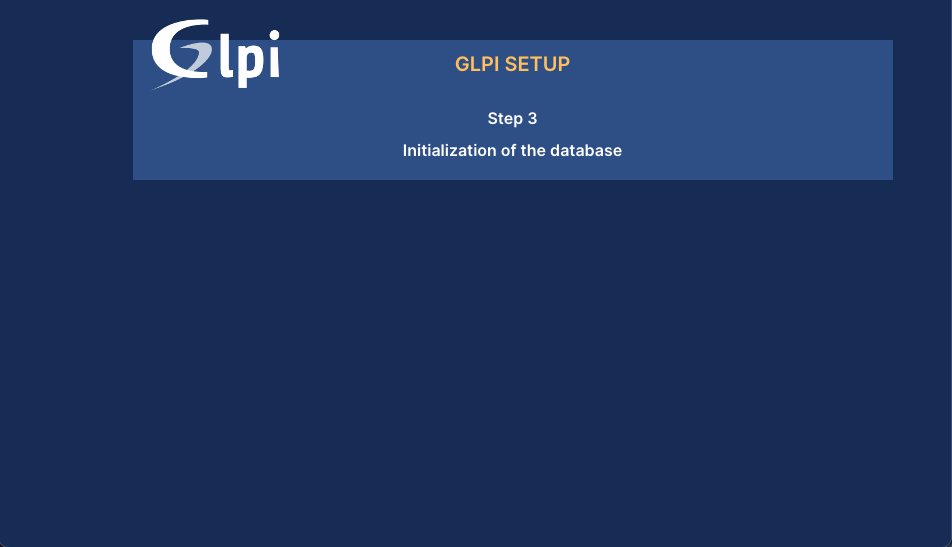
Step 3 Initialisation of the database will now run for a while:
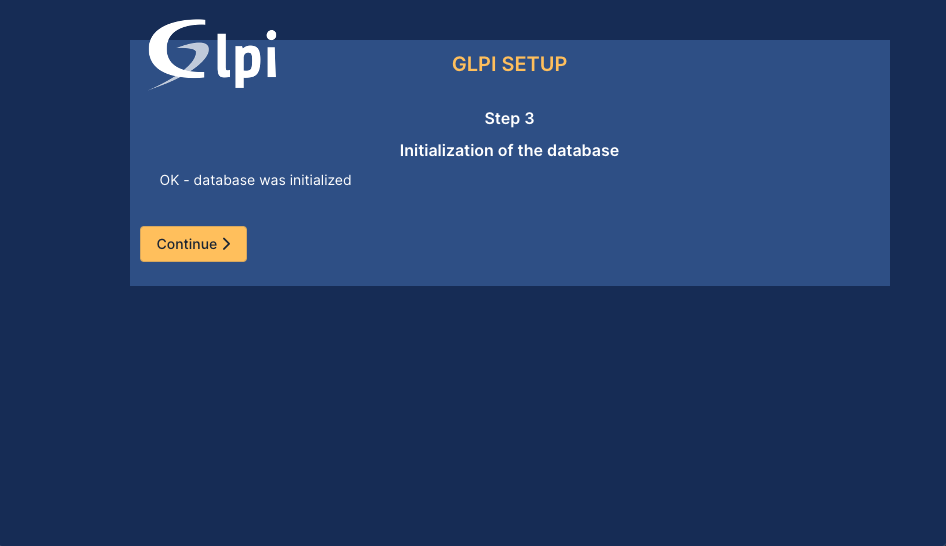
When it completes click the Continue button that appears on screen:
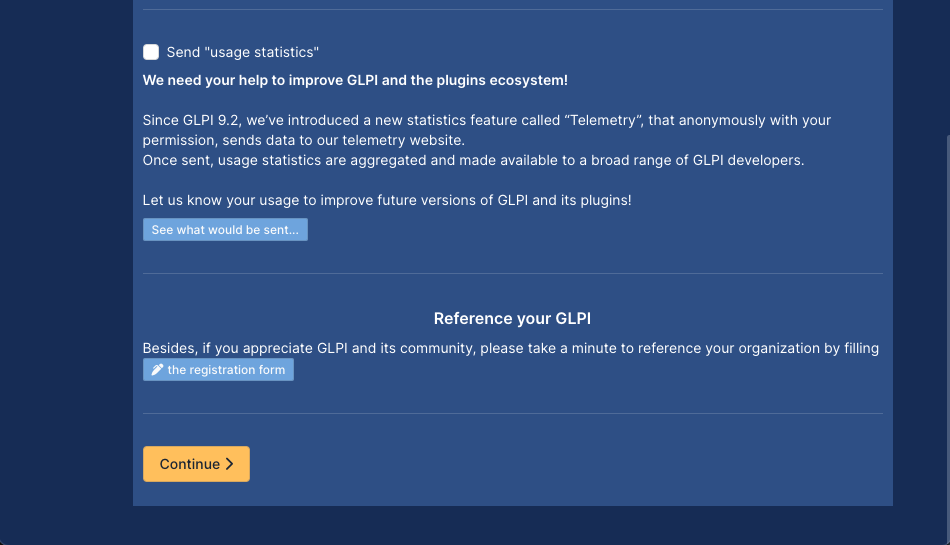
Untick Send “usage Statistics” and click Continue.
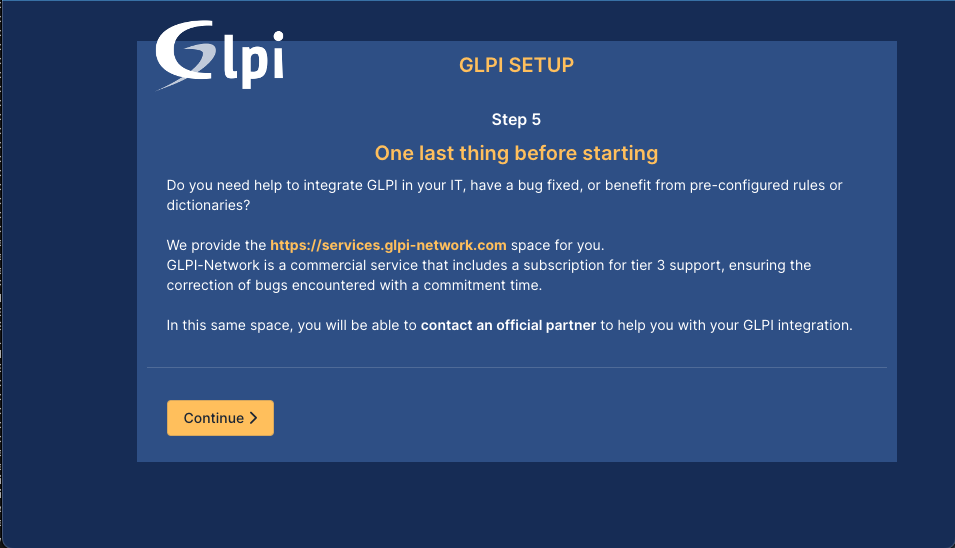
Click Continue again
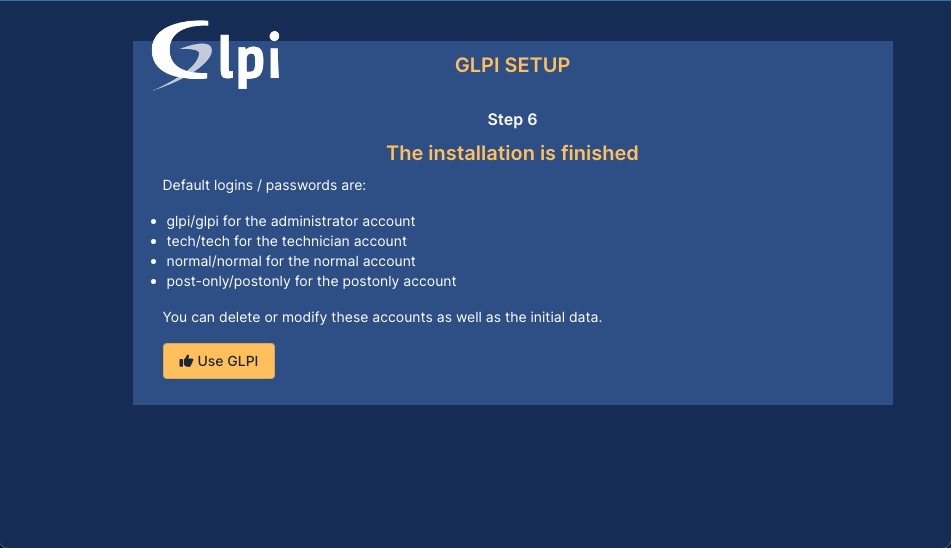
Click Use GLPI to Go to the login page:
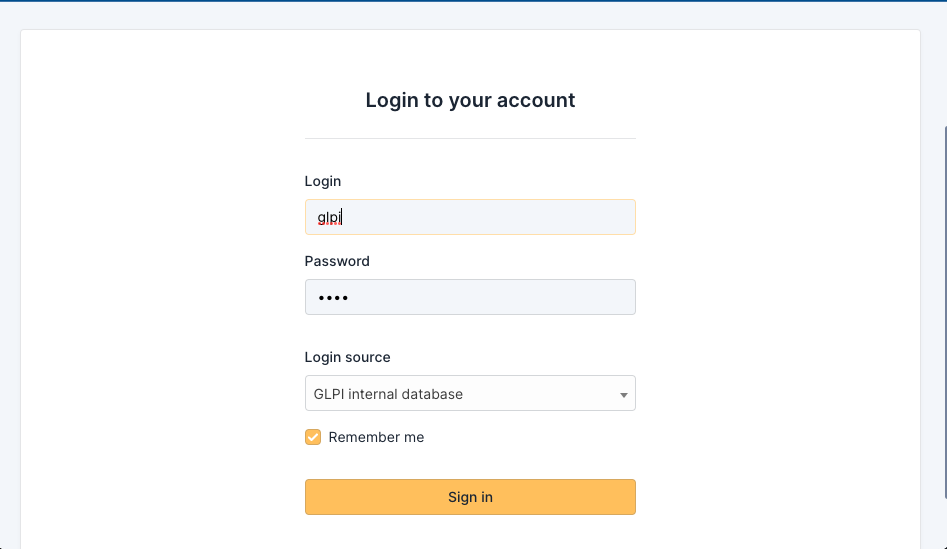
Put the default login details into the login page and click Sign in:
You will see that there is the following warning banner:
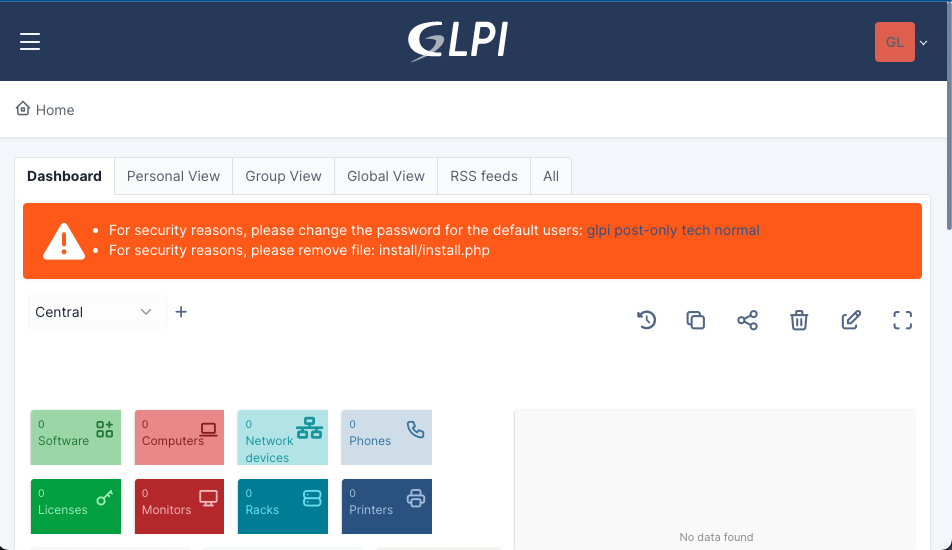
To fix it run through the steps HERE.
Once you have cleared the warnings GLPI is ready to start configuring and using. Before starting to configure GLPI why not manually take a backup of its current state, or better still use the Automated Backup Script and then use the script to configure backups to run automatically on a daily basis.

Tutorial perfeito, apenas para funcionar a conexão db precisei utilizar o seguinte parametro:
GRANT ALL PRIVILEGES ON glpi* TO ‘gpliuser’@’localhost’ IDENTIFIED BY ‘sua senha’;
thanks I have edited the page to try and make it clearer.