Create Ubuntu 22.04 Server Proxmox VM Template
Overview
A Proxmox template is really useful to quickly create new Ubuntu VM’s in a few steps that are all have the same basic configuration already setup. Templates are also useful for Ansible automation as it gives all VM’s created with it a standard base image to work from.
This process was taken from THIS youtube video. And THIS web page.
The process uses the minimal Ubuntu 22.04 Cloud image as the base image.
The first steps of the template creation take place on the Proxmox Gui.
Create Base VM
To create a base VM click on the Server name in the left Proxmox GUI menu and then click on the Create VM button at the top right of the gui:

This will open the Create: Virtual Machine wizard:
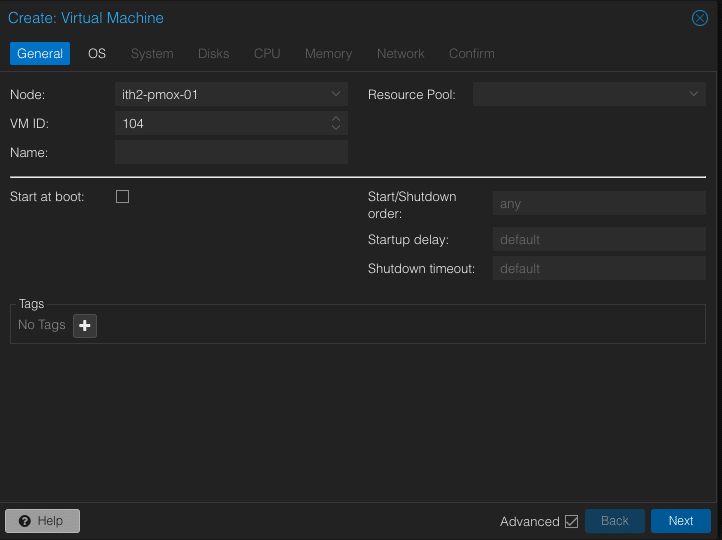
Set the Node: Field to the Proxmox Cluster node that you want the template on by clicking the field and selecting the node you want to use. This option is not available if the Proxmox server is stand alone.
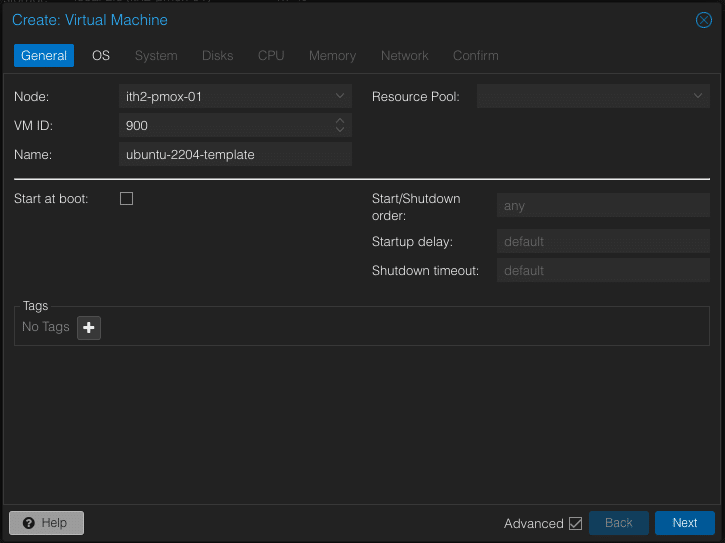
Set the VM ID to a number that is separate to the normal VM range. In my case I chose 900 as my ID as the Templates will then appear lower down the list than the VMs which are using lower numbers.
Add a Name to the Name: Field in this example I used ubuntu-2204-template:
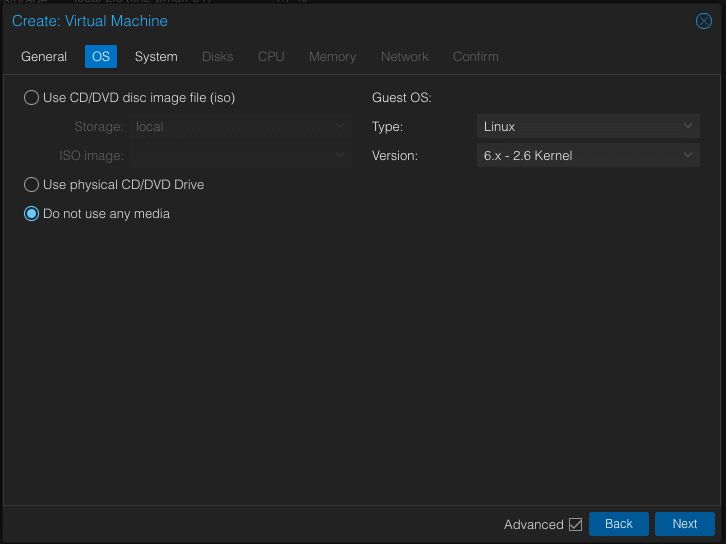
Select the option Do not use any media and click Next as we are going to use a cloud image to create a disk later in the process:
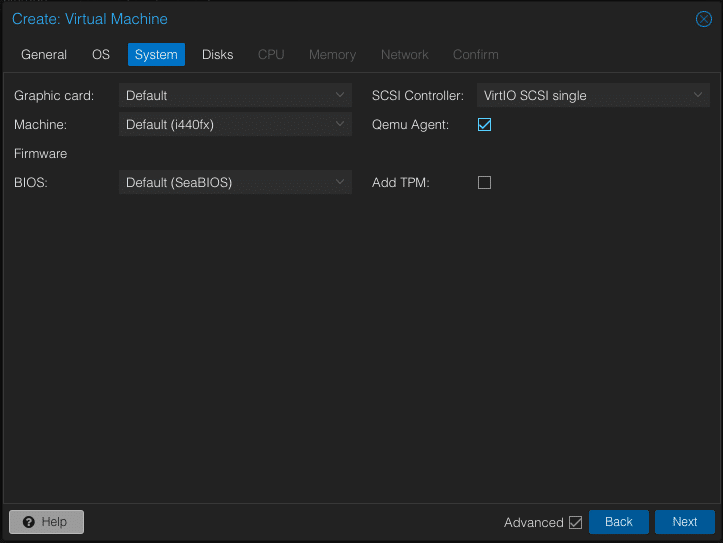
Click in the Qemu Agent tick box so that the Qemu Agent is enabled by default. This means that when the agent is installed on the VM later it will not need to be enabled as it is already enabled.
In the left hand window click on the Bin icon to delete the scsi disk: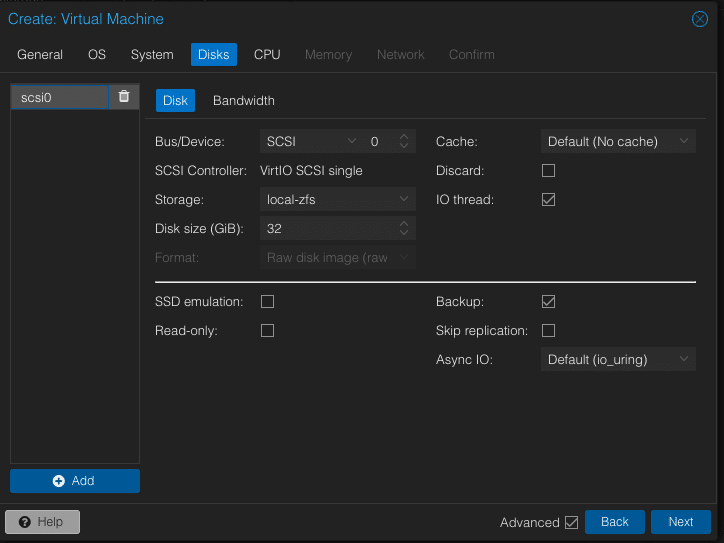
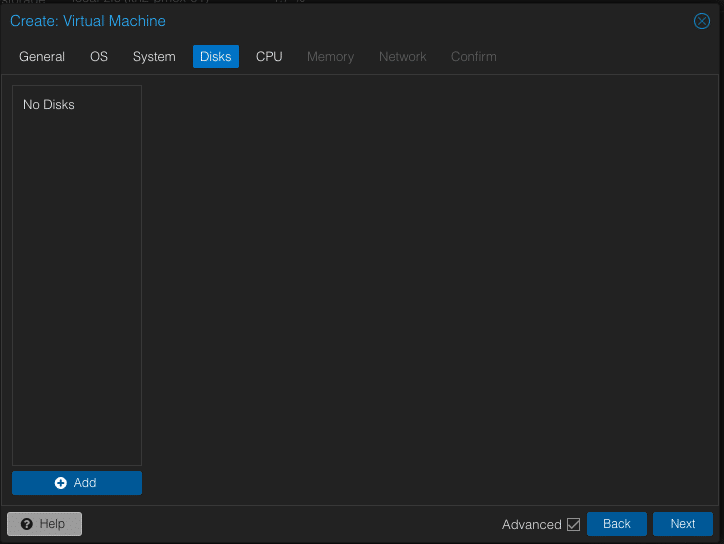
The page will now be blank so click on next to move to the next config stage:
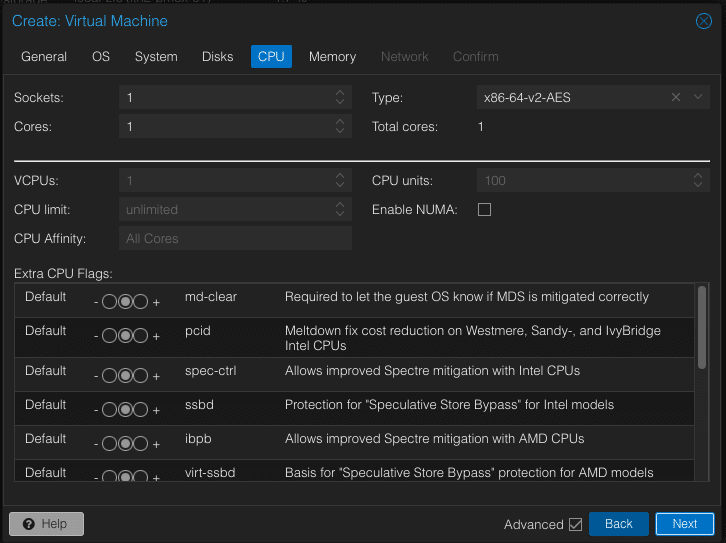
Click next to chose the default CPU options and click Next:
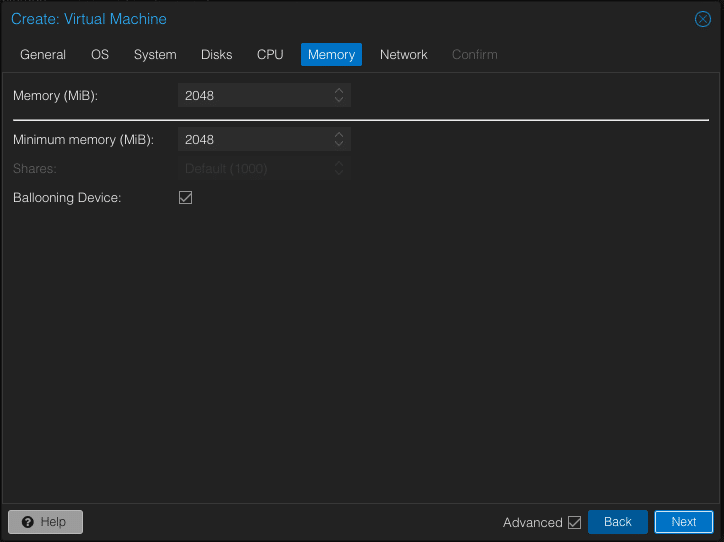
Click Next again to stick with 2048mb as the default memory:
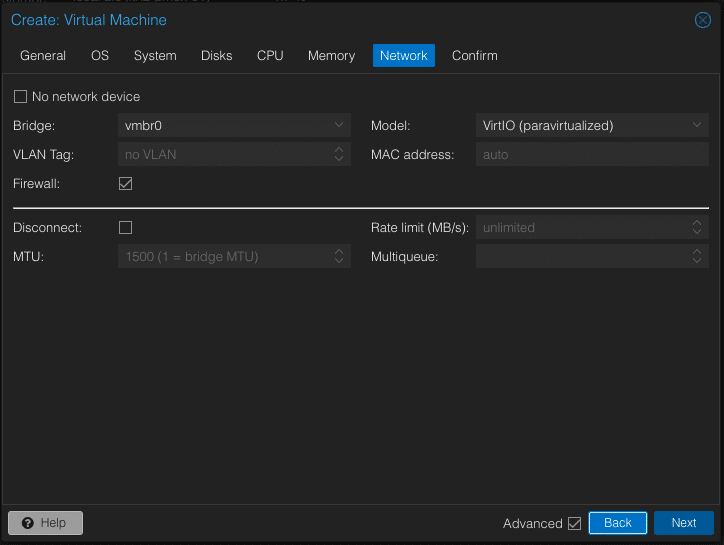
Choose the network that the VM will use and click Next. The defaults should be fine unless you have configured a specific VM network on the Proxmox server.
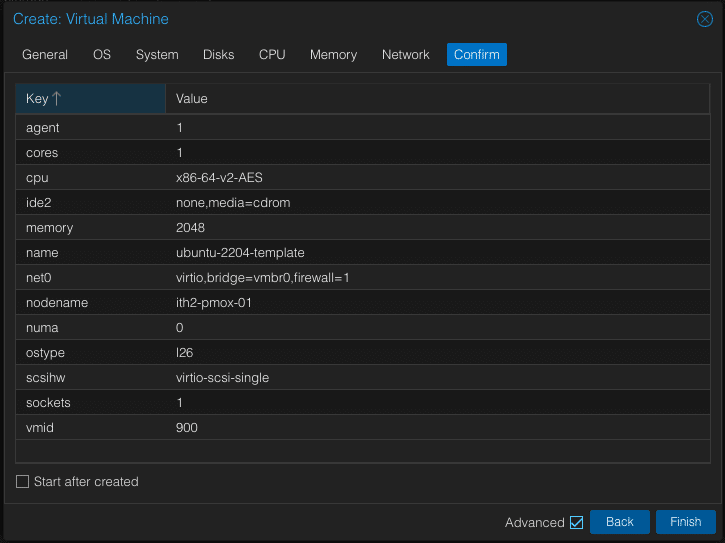
Click on Finish to Build the VM:
Wait for the VM to be created and appear on the left hand Proxmox window:
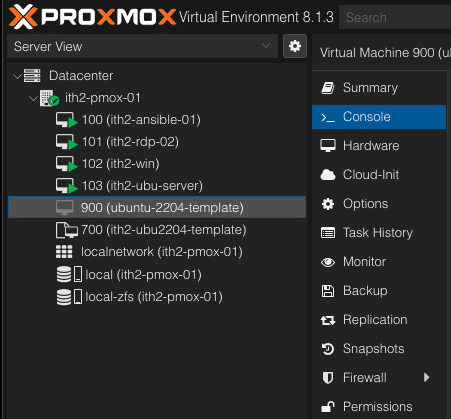
Click on the VM name and select the hardware option in the middle window:

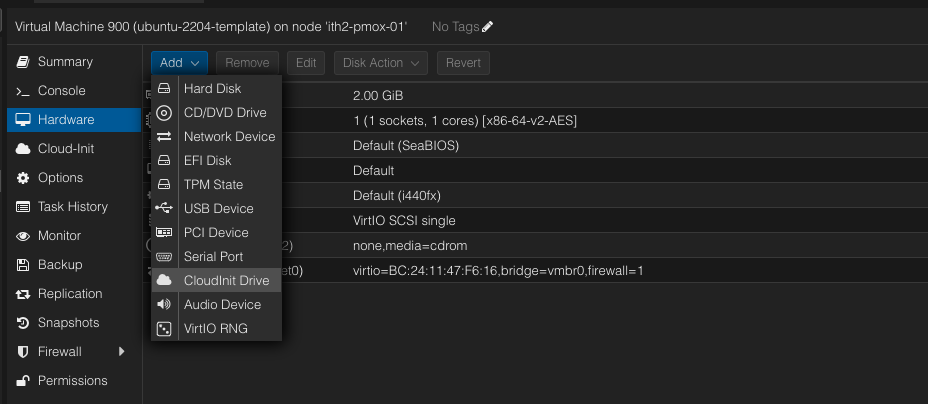
Click on the Add option at the top of the 3rd window and select CloudInit Drive:
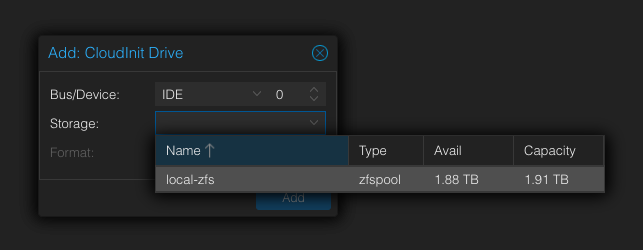
Click in Storage and select the desires storage to use:
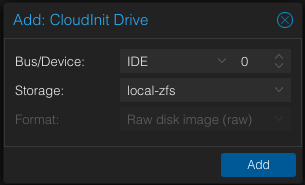
Click Add:
Click on the Cloud-Init tab:
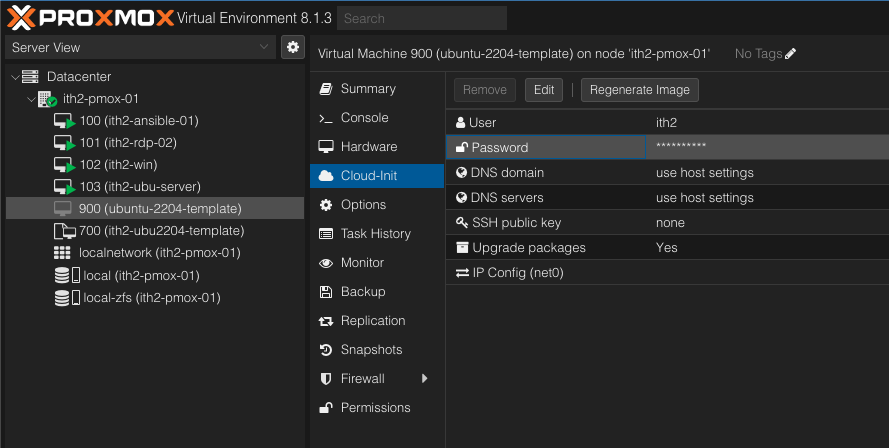
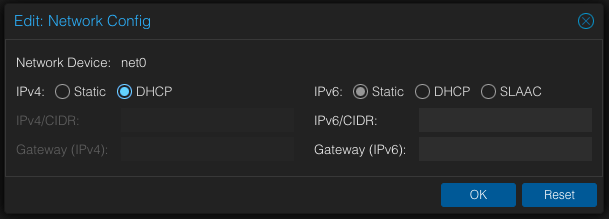
Click on the IP Configuration (net0) and set the IPv4 to DHCP and click OK:
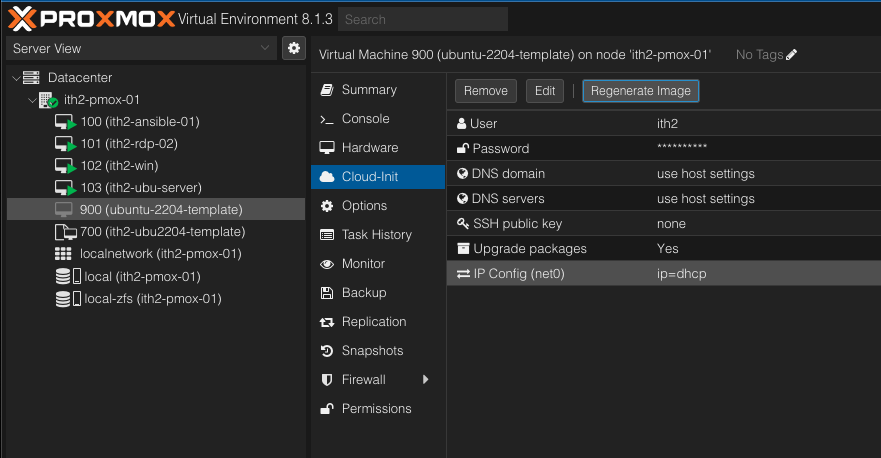
Click the Regenerate Image Button to regenerate the image with the new settings:
Create Cloud-Init Disk
To create the Cloud-Init disk we need to ssh to your Proxmox server and use the command line to run the following steps:
Download the cloud image from ubuntu by running:
wget https://cloud-images.ubuntu.com/minimal/releases/jammy/release/ubuntu-22.04-minimal-cloudimg-amd64.imgThis will download the ubuntu 22.04 cloud image to the Proxmox server:

Once the download finished run the following command to create the vga console to make sure that the VM has a console once it is created. Make sure that the vm number is the same in the command as the actual VM (900 in this case):
qm set 900 --serial0 socket --vga serial0If successful you will see the following in the console:

Next we have to rename the image to have a .qcow2 file extension and a shorter name by running the following command:
mv ubuntu-22.04-minimal-cloudimg-amd64.img ubuntu-22.04.qcow2Resize the image to the size that you want to use (32G in this case) by running:
qemu-img resize ubuntu-22.04.qcow2 32GIf successful you will see something similar to:

Run the following command to import the disk into the VM. Making sure that you choose the correct VM ID (900 in this case), disk name and the correct disk to copy it to (local-zfs in this case).
qm importdisk 900 ubuntu-22.04.qcow2 local-zfs
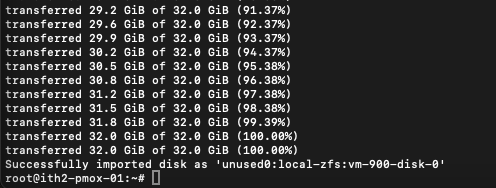
This will take a while but you will see the following when complete:
Add the new disk to the VM
Back in the Proxmox Gui select the VM in the left hand menu and select the Hardware tab in the middle pane:
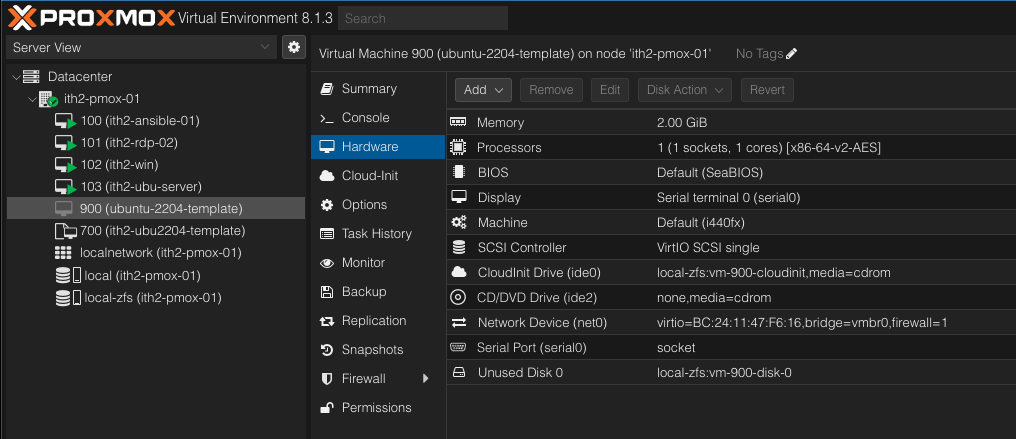
You will see that there is an unused disk at the bottom, this is the new disk that we created before. We now need to initailize the disk by selecting it and clicking the Edit button. This will open the Add. Unused Disk wizard:
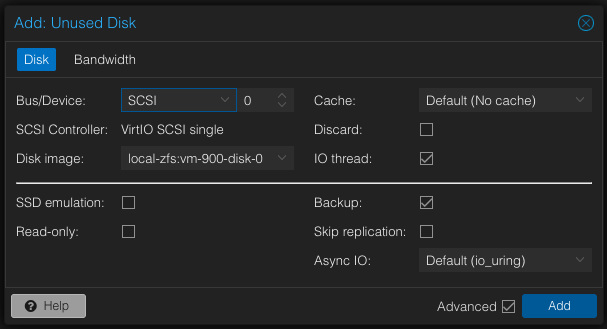
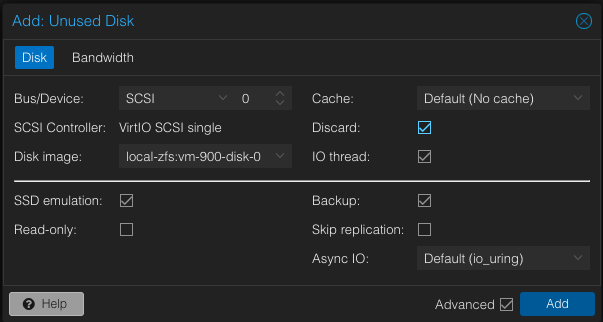
If your underlying disk is an SSD then click in the Discard tick box and the Advanced tick box and then tick the SSD emulation tick box and click Add
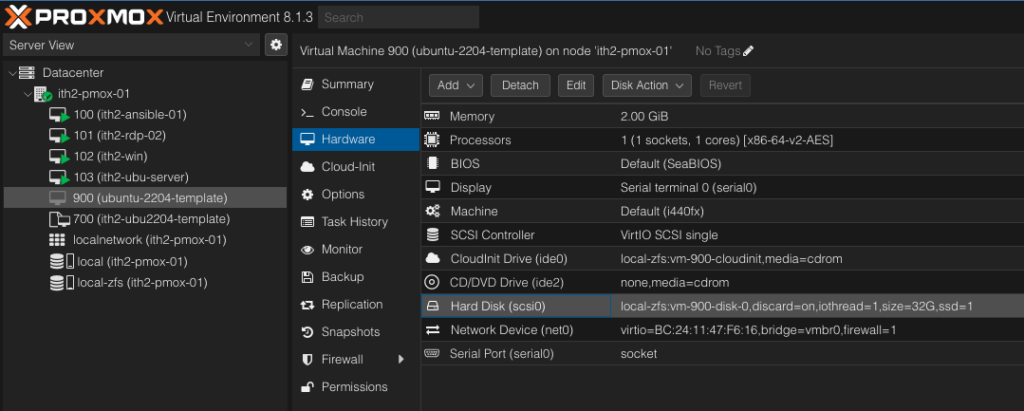
The new disk now shows up in the list as a Hard disk:
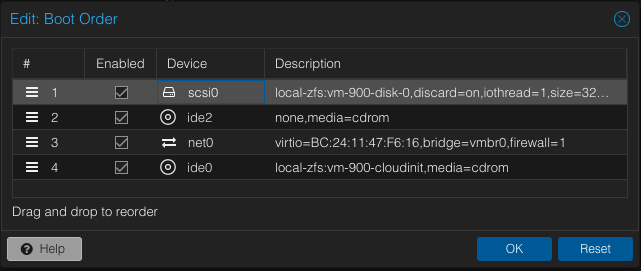
Make the new disk bootable by clicking on Options, Boot Order and Edit:
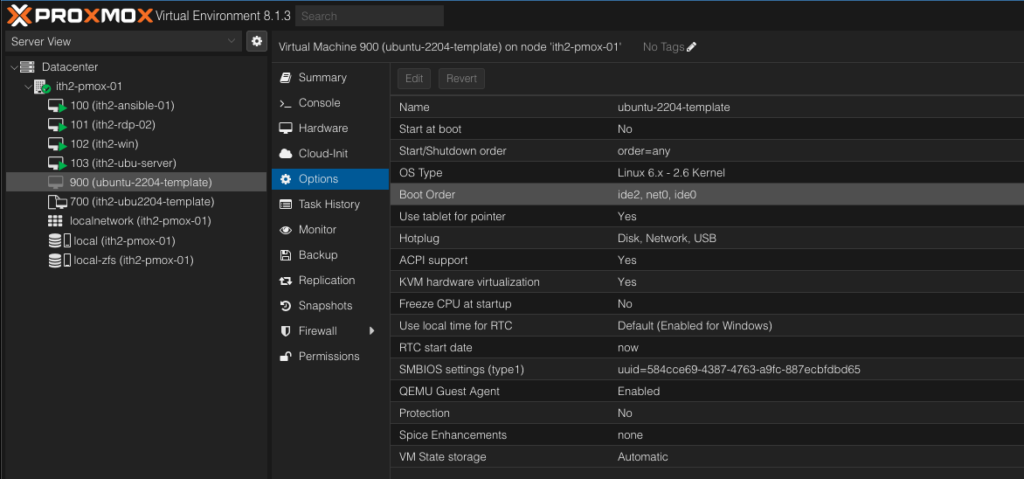
Tick in the Enabled tick box for the scsi0 disk:
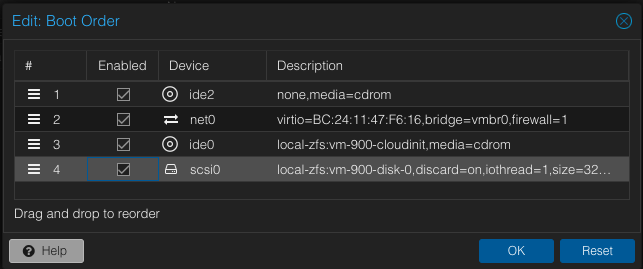
And then drag the scsi disk to the top of the list and click OK:
Boot the VM by going to the console and clicking on Start Now: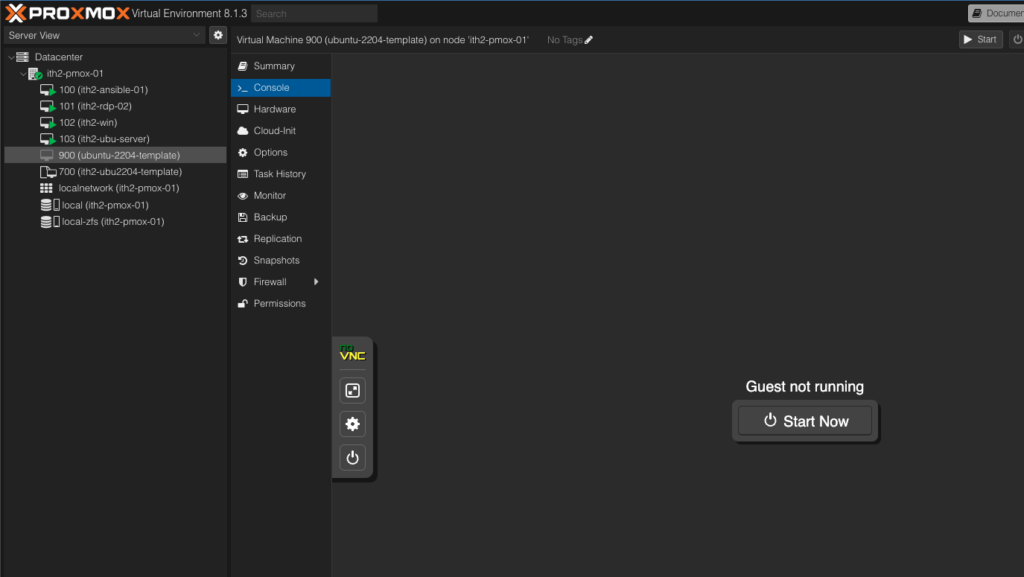
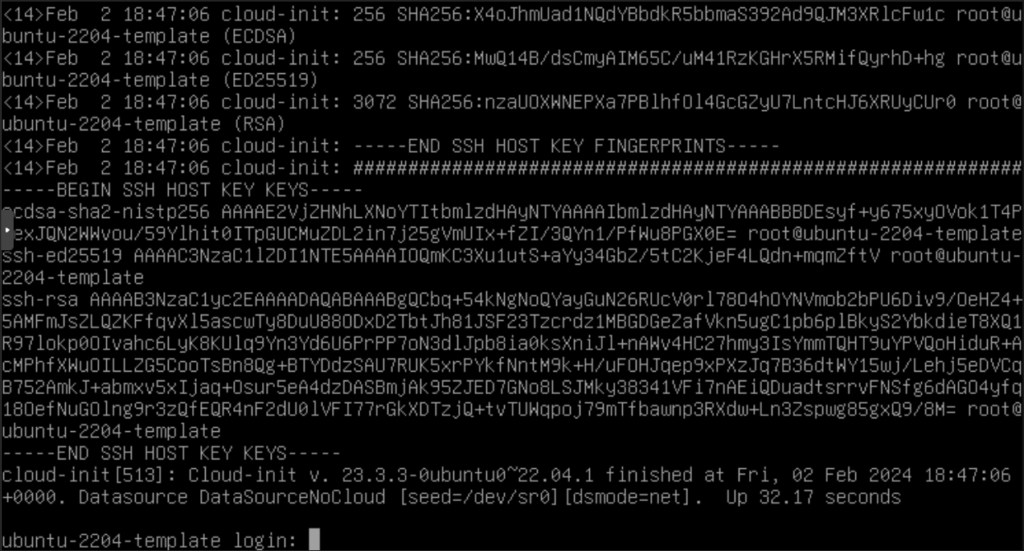
The VM will not boot up. The first time the VM boots it will take a while as it installs from the cloud. It will show Cloud init finished when done: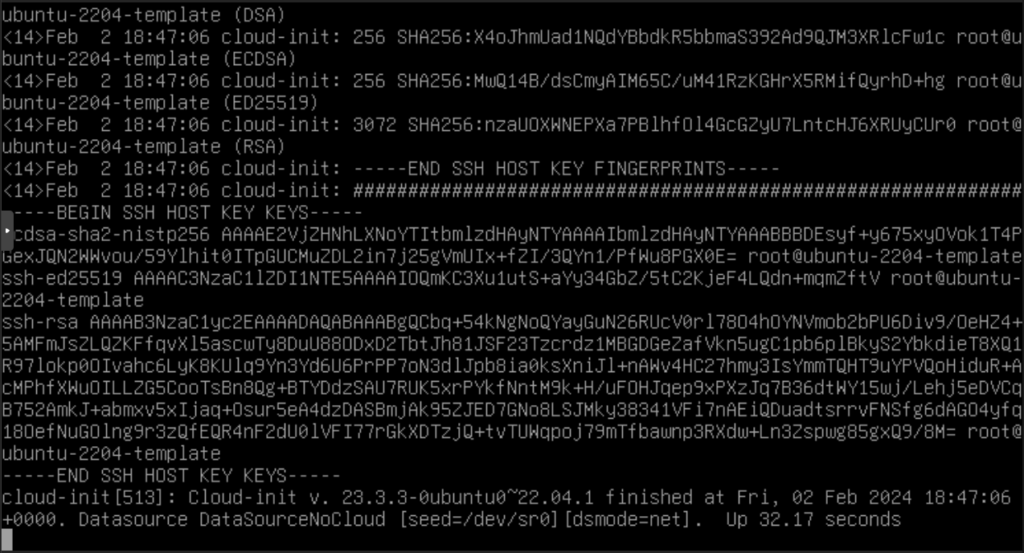 Press enter to get to the login prompt:
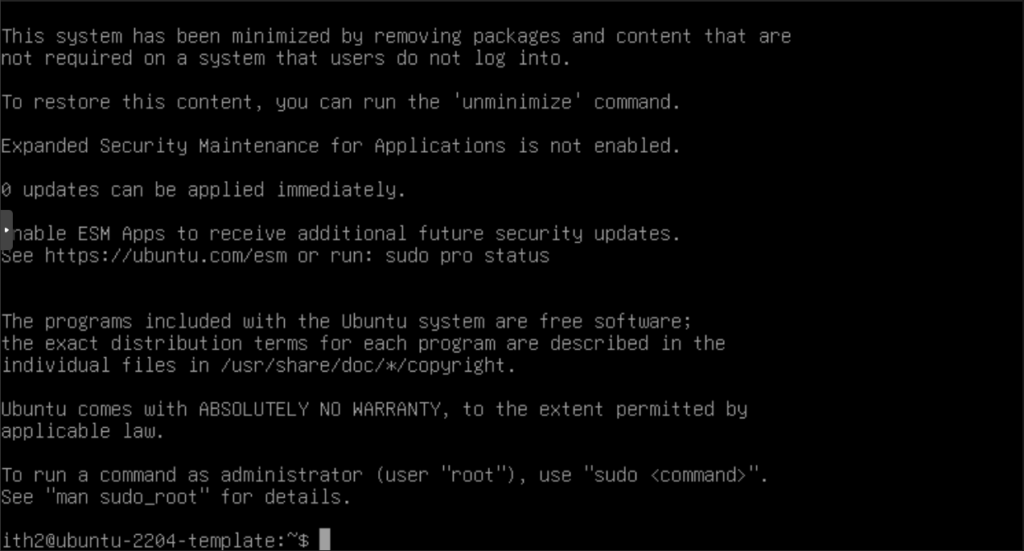
Login an the VM is ready to configure:
Configure VM
Update the VM by running:
sudo apt update -y
sudo apt upgrade -y
Reboot the vm to install the qemu-guest-agent correctly by running:
sudo reboot
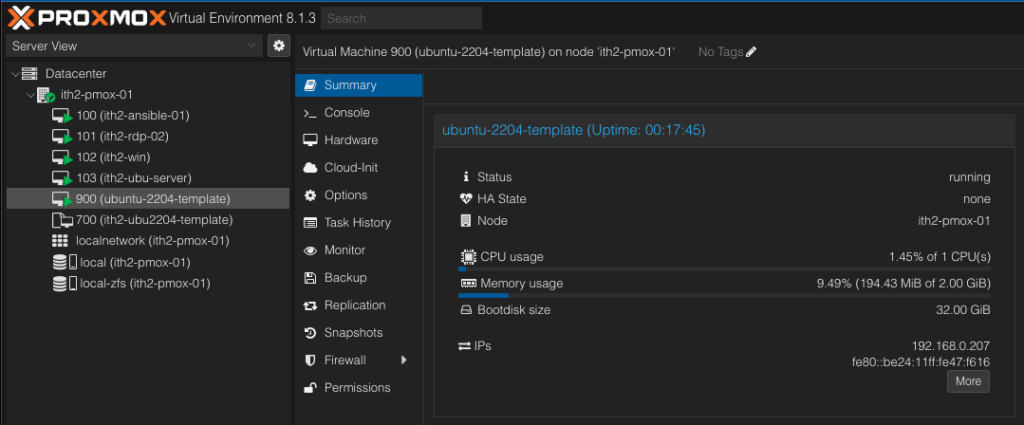
Go to the VM Summary and if the guest agent is running you will see IP an IP address in the IPs field:
Edit the /etc/ssh/sshd_config file by running:
sudo vim /etc/ssh/sshd_config
Change the following line from:
PasswordAuthentication no
To:
PasswordAuthentication yes
In order to make sure that the VM’s created using the template do not get the same mac address all the time run the following command to blank the /etc/machine-id file so that it is recreated when the VM starts up for the first time:
sudo truncate -s 0 /etc/machine-id
Save the changes and then shutdown the VM by running:
sudo shutdown -h now
Now that the VM is ready we need to convert it to a Template:
Convert the VM to a Template
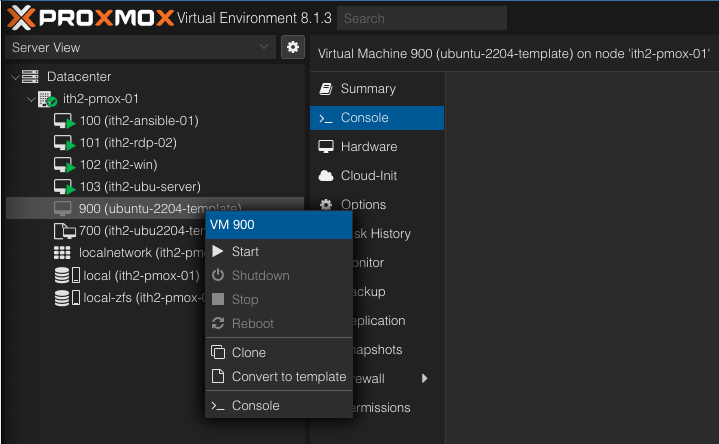
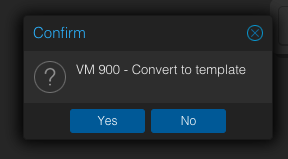
Click on the new VM name and right click on it and select the Convert to Template option:
Click Yes:
The VM will now be converted to a template and the icon next to the name will be different:
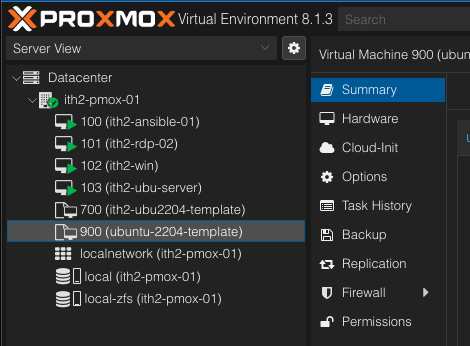
You now have a Template ready to use to create VM’s quickly

